Search the BellaCrafts Blog

Thursday, 28 June 2018

Mini Garden Labels


It is prime time to be allowing your potted plants to flourish. We have an extremely cute craft to get your growing garden in order! Simple, yet so effective create mini garden labels to label your plants and keep your garden in order!
All you need is a packet of lolly sticks, Uhu Glue and some paints!
Crafty, cute and kitsch, we love!


Begin by laying out two vertical wooden sticks to create your sign base.


Apply the UHU glue to the top half of 2 lolly sticks.


Lay five lolly sticks horizontally across your base to glue in place.

Top Tips:
Use 5 horizontal lolly sticks in order to allow enough space to decorations and written details. 
Also try to space the vertical lolly sticks to allow the horizontal ones to overlap about cm either side, this keeps looking super neat. 

Allow the Uhu glue to set and dry for an hour, in order to secure maximum strength before applying paint.


 Acrylic or multi surface paints are both perfect to decorate your mini garden signs! Begin by considering your colour choice, you may want to match the colour of your sign to your plant, fruit, vegetable or herb you are growing! We have done so!


Begin by sketching the shape of your fruit, vegetable or herb onto the sign, paint your background around the sketch, then fill your sketched image in with an alternative paint colour.


 Allow the paint to dry before using a sharpie pen to add further details to your sign. We have also used the opposite end of our paintbrush to add cute polka dot details to the legs of the mini sign.


To complete your mini garden labels, coat in Clear Patio Paint, this will ensure your mini labels are weatherproof for the garden environment and ensure durability!


We are loving spending time in our garden, so many beautiful sights to see to inspire our crafty minds!


We love the garden and will be teaching many garden themed and inspired crafts over the summer! Check them out and book your places here: 


Feel free to share your pictures of your garden and mini signs to @Bellacrafts on our Facebook page, we would love an insight to your crafty garden! Or crafty makes inspired by beautiful gardens! Don’t forget to visit our inspiring Pinterest account here: 


                                                    Happy Crafting and Gardening!

                                                                      Much Love

                                                                     BellaCrafts


Friday, 15 June 2018

Crafting in the Garden


Hermoine here, part time BellaCrafter, full time Mummy and seasonal gardener. So, I don’t want to put a hex on the season but I do believe summer is here!! (Please don’t email with complaints when it starts to rain, haha). There are so many things to enjoy at this time of year, the days are longer and feel like a warm hug and nature seems to just explode around us in beautiful blooms and luscious greens, it’s no wonder we all then turn our attention to the outside spaces and fulfil our title of being a nation of gardeners. 


It’s no secret that we love creating things here at BellaCrafts but this month we wanted to share with you a little peak into our gardens and some of our outdoor likes and loves. We hope they inspire you as they have us.  

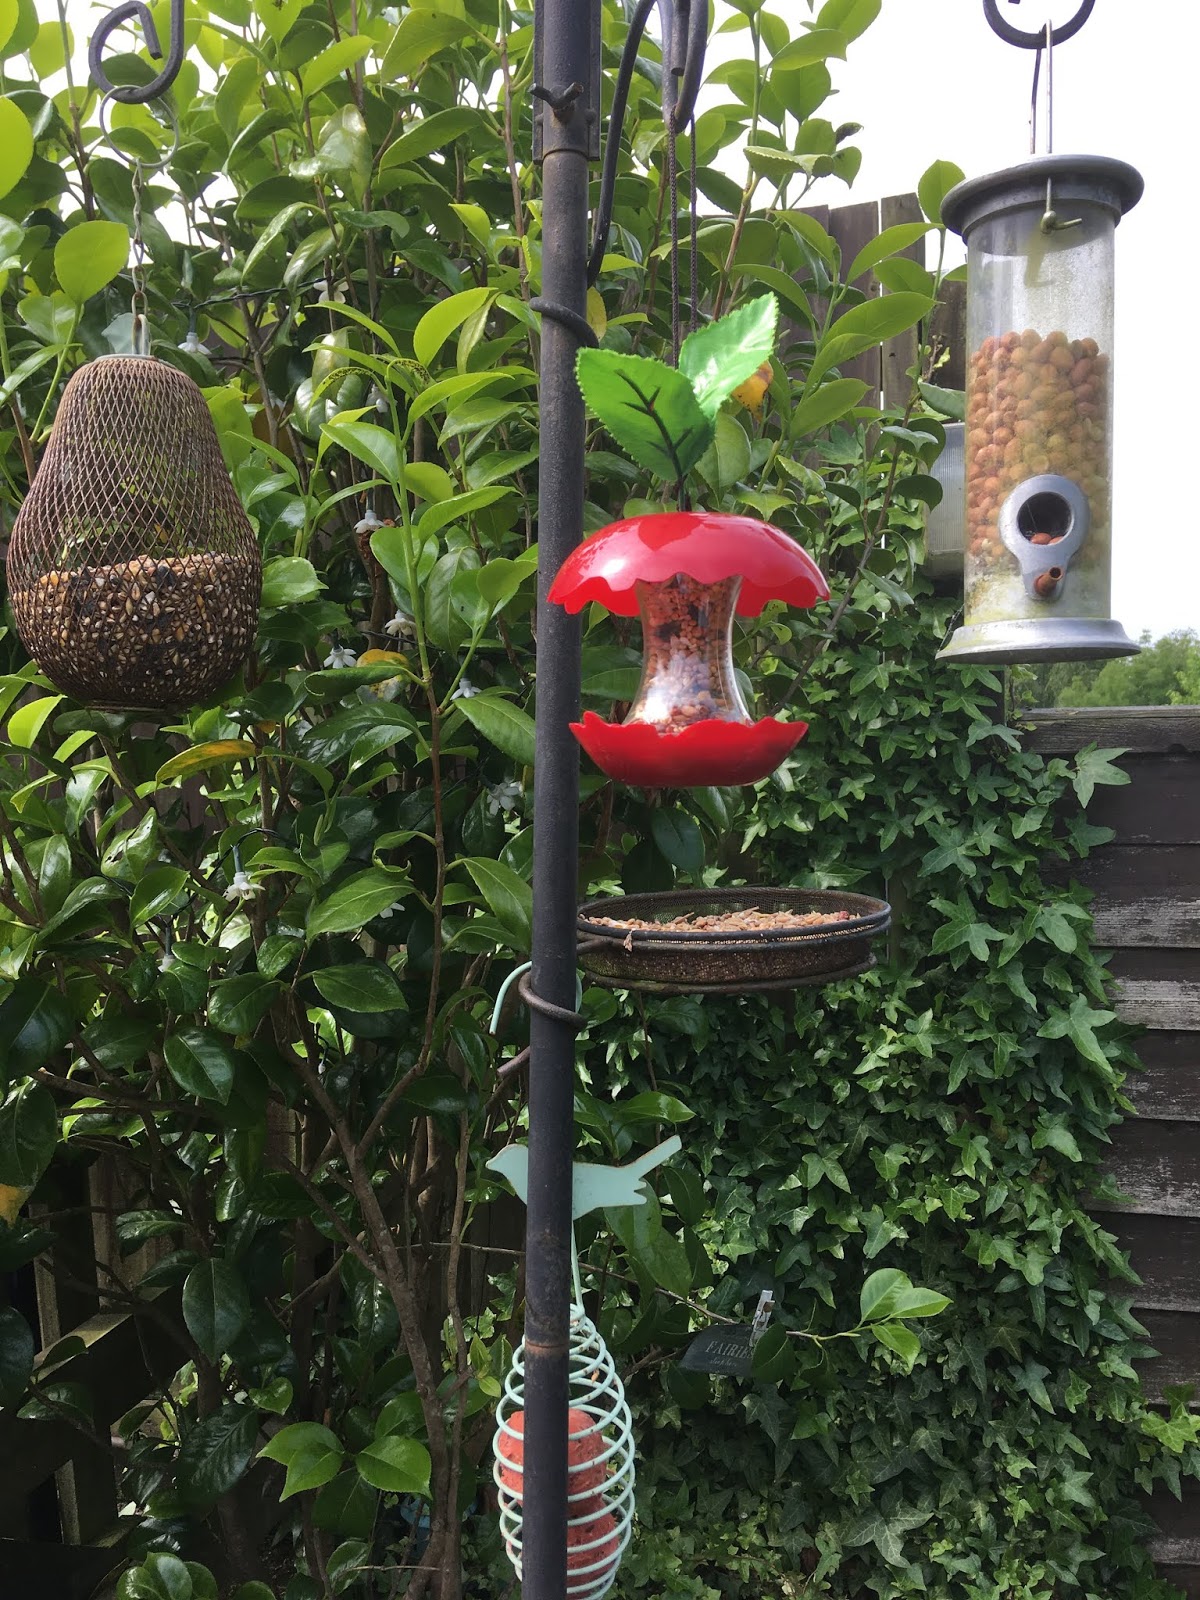
I find gardening to be a test of patience, very much like crafting, there are no instant results, we are forced to wait.  My Mum is a very active gardener, the term green fingered does not apply, she is green blooded and I find myself inspired by her passion (although I do not get the exact same results, haha!) so I have been busy planting lots of seeds to fill up flower beds and of course my daughter and I have a sunflower growing competition on too! We also love to watch the birds come and feast on the unlimited buffet we supply!
  
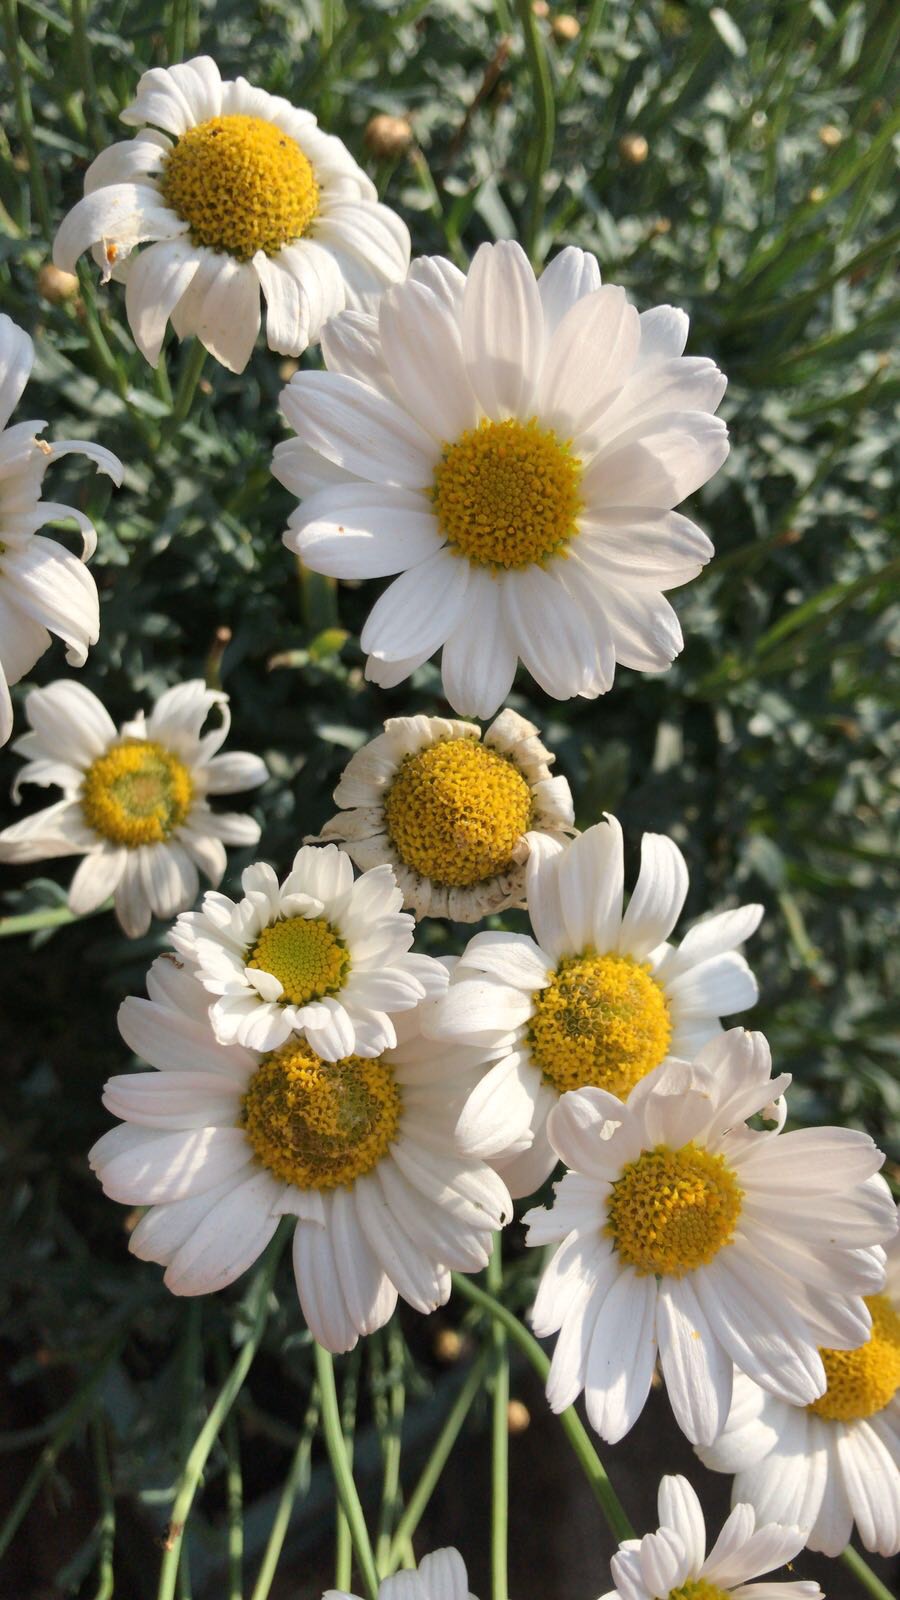
My Great Grandma was also an amazing gardener and has a plant named after her, pictured below, and I think of her and smile every time I come across it and I just love how it flowers every year. 
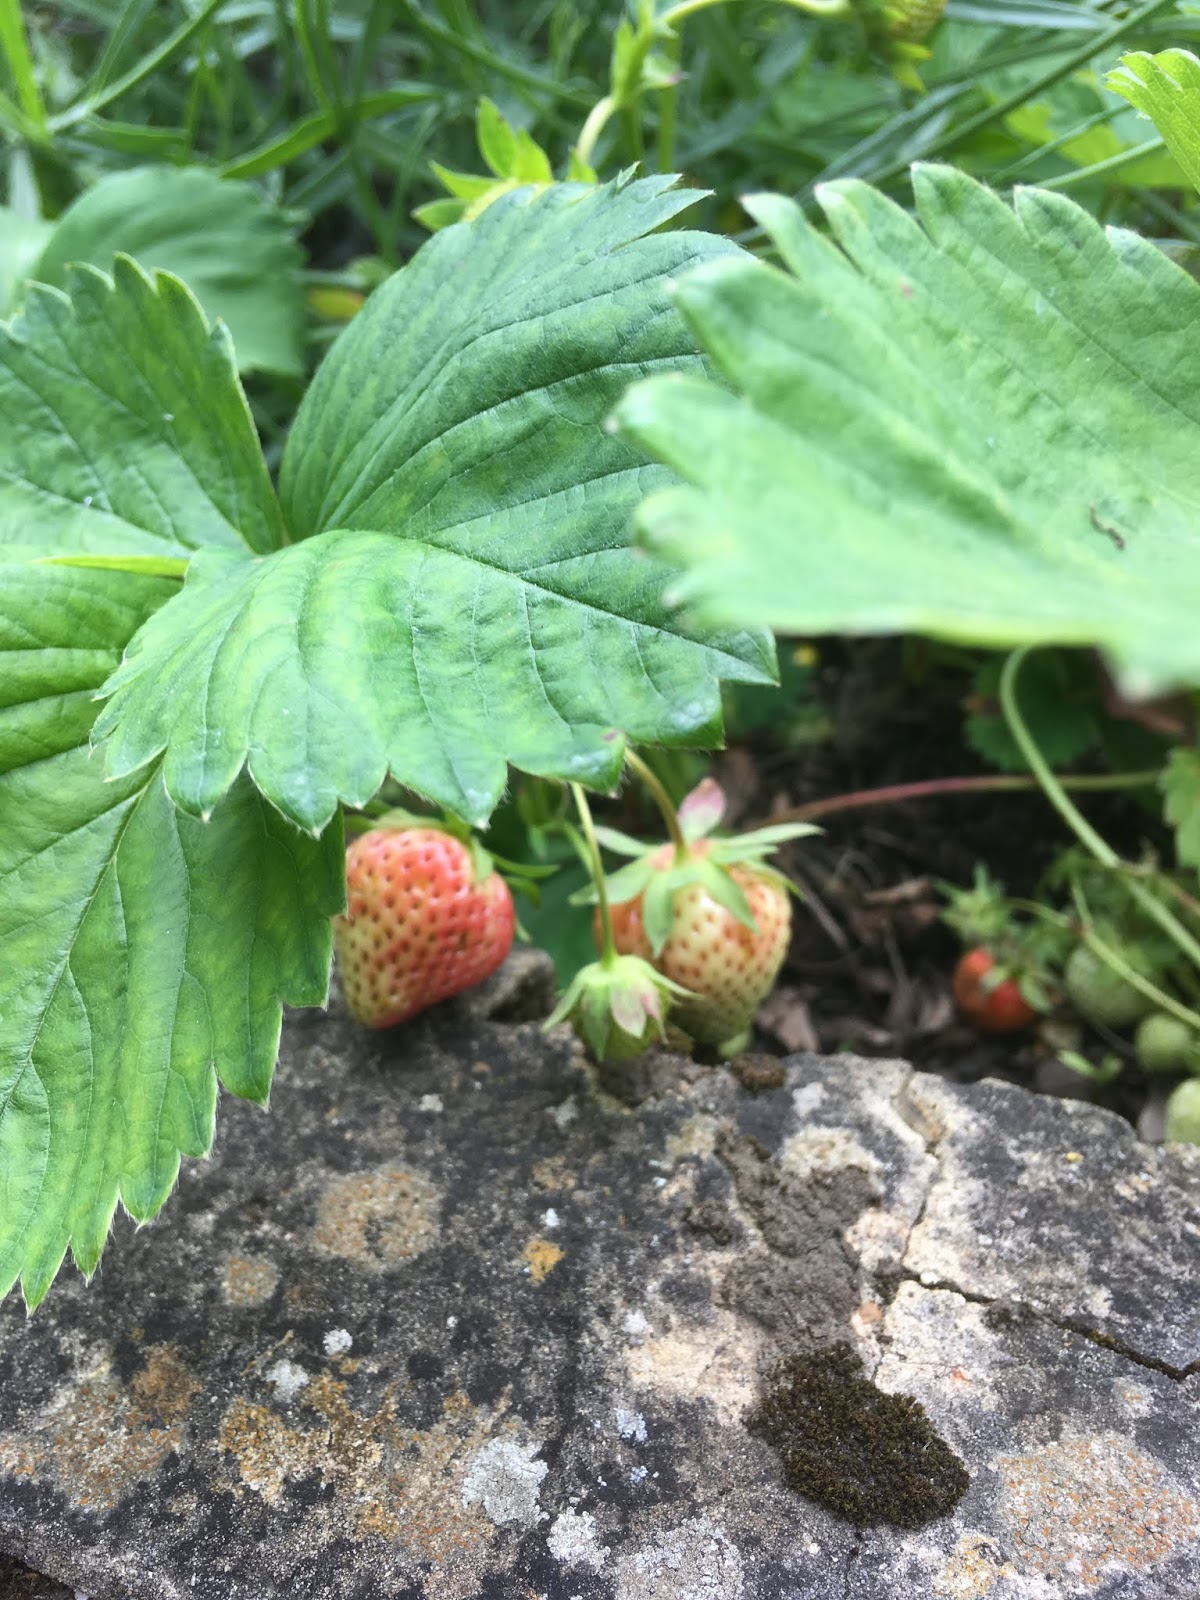
That’s probably my favourite thing about gardening (because I’m not so good at the waiting), I love watching plants and shrubs come back to life every year, especially my strawberries, which only ever seem to be eaten by the slugs and birds but hey, that’s ok, they’ve got to eat too!


In all, I just adore having an outdoor space to live in during the summer months with my small human.  Nothing fills me with more joy then laughter in the garden surrounded by the people I love most, crafting in the sunshine and staying cool under my epic willow tree! 
 So, that was just a little peak into my garden and I have to say, I am a little ‘green’ with envy after my colleagues shared pictures of their outdoor spaces with me....


  Victoria is definitely the most traditional gardener of the group taking her inspiration from cottage gardens. Her garden features traditional flowers like foxgloves, roses, herbs and lavender. As a busy bee, anything that self-seeds is a must have... it's makes it more like magic! 


On her recent trip to the Chelsea flower show, she was inspired to buy a Wisteria for her garden. She said she loved the beautiful draping shape of the flowers and the way that the petals decorated the lawns.... apparently they reminded her of all the sequins on the floor of the barn. 

If there's one thing you will find her buying in the barn for her garden, it would be PaperArtsy Chalk Paints to decorate her endless terracotta pots. We are very jealous of how these turn out, the translucent effect allows the colour of the terracotta to show through giving them a beautifully aged look! Definitely a project to add to your to do list if you haven't already tried it! 


There are so many ways to enhance our gardens, it’s not all about planting so don’t worry of your fingers are not naturally green.  We have created our very own ‘Garden Crafts and Sunshine’ board on Pinterest for this very craft...click here to follow and find further inspiration :

Our Kate is currently in the midst of revamping her garden; she has a passion for an Italian garden look and has even built her own pergola to trail some beautiful plants, so jealous!! Can you guess her colour theme?! 

Her favourite plants are marigolds, olive trees and anything that reminds you of holidays and relaxing in Italy. 
We love her garden vibes, it just screams summer and a cool cocktail as the sun is setting....I can almost hear the glasses clinking!   

Can anyone spot her garden make... that's right, her beautiful heart tealight!  One of her favourite crafts, Decopatch, has found it's way in to the garden too! We love how the colours she's chosen makes the colours of her plants pop! 


Now, Jo has been exploring some more exotic gardens as she has just returned from an amazing holiday in the Dominican Republic, where the family travelled to witness her Mum getting married.  We weren’t at all envious of her beautiful tan and stories of swimming with dolphins, hehe!  Here are just a couple pictures capturing some of the beautiful gardens found on their trip. Anyone feeling inspired? 


Well, that’s just got me thinking of holidays and can you believe that the School Summer holidays are just around the corner!!  Don’t panic, if you didn’t already know, we are on hand every week day to entertain those small humans with our crafting holiday club, a jam packed day of makes and giggles!  If you would like to know more and book a place then just follow the link here: 

                          https://www.bellacrafts.co.uk/book-here/school-holidays/


We are also here 7 days a week for your crafting pleasure, no need to book, you can pop in anytime!!  Plus will anyone spot the new magical additions to our garden outside the barn? There'll be more magical additions soon, so do pop up and see for yourself! 

If we've inspired you with some garden delights and crafting, we would love to see you at our Fairy Garden Workshop on 15th July because us adults like to believe in magic too!  More details can be found here:


Please contact us at anytime by phone or via our website / facebook with any further questions you may have, apart from the weather forecast, we aren’t that magical, but we can guarantee lots of sunshine when you come in to visit us!!


Come along and see for yourself!!! Hope to see you soon! Hermoine xxx


P.S. 

Can't wait for our next post?! Here's a sneaky peak of what we are up to....


Friday, 27 April 2018

April Spring Blog

Hi, I'm Hermoine from the BellaCrafts Team, and I'm so glad Spring is in our steps! Welcome back Spring, dear friend, how nice it is to see you again!! Taken from the beautiful poem ‘Spring’ by William Blake...
‘Little boy, Full of joy;
Little girl, Sweet and small;
Cock does crow, So do you;
Merry voice, Infant noise;
Merrily, merrily, to welcome in the year'


Spring is my absolute favourite. It brings nature back to life; colours slowly start replacing the dull grey /brown hues of winter, the air starts to feel warmer and the days begin to lengthen and I actually feel like I’m coming out of hibernation (and a long love affair with my pj’s). These things in turn give us that little bit more energy and spark of creativity, that urge to make and do!!

It is also the time of year that we start that ‘Spring Clean’ and step outside into that forgotten room, the garden. Like many others I know, and possibly you, I am a fair weather gardener so the task of confronting the now brown leaves on the grass from my willow tree (insulation for the ground I like to think) is always the most dreaded. But, I did it and whilst cleaning the leaves I started to gather small branches that had fallen during the winter months, I’ll make something from those, I thought.

With the most recent burst of sunshine I have been pottering about more and more and what I love so much about this time of year is how my outside becomes a room for us, a beautiful living space to spend the majority of our time in. Oh, and I found a use for those sticks...we decided to make some decorations to hang around the garden, just from things we found in our craft stash, and here is one adding a bit of extra colour to a lilac just about to bloom:


Another of my favourites about spending time outside (apart from the obvious much needed vitamin D /suntan) is planning parties for the upcoming warmer months, whether it’s a last minute picnic, an afternoon tea or a barbecue (although we know these make the rain appear, haha) it’s always a great excuse to gather with friends and loved ones. Oh and there must be bunting, I’ve just hung ours out to add that extra bit of colour to the garden (this fair weather gardener also gets impatient waiting for seeds to germinate).


I have also loved watching my small human welcome in Spring with such delight, 'the fairies will need their garden decorated too Mummy’, well of course they will....


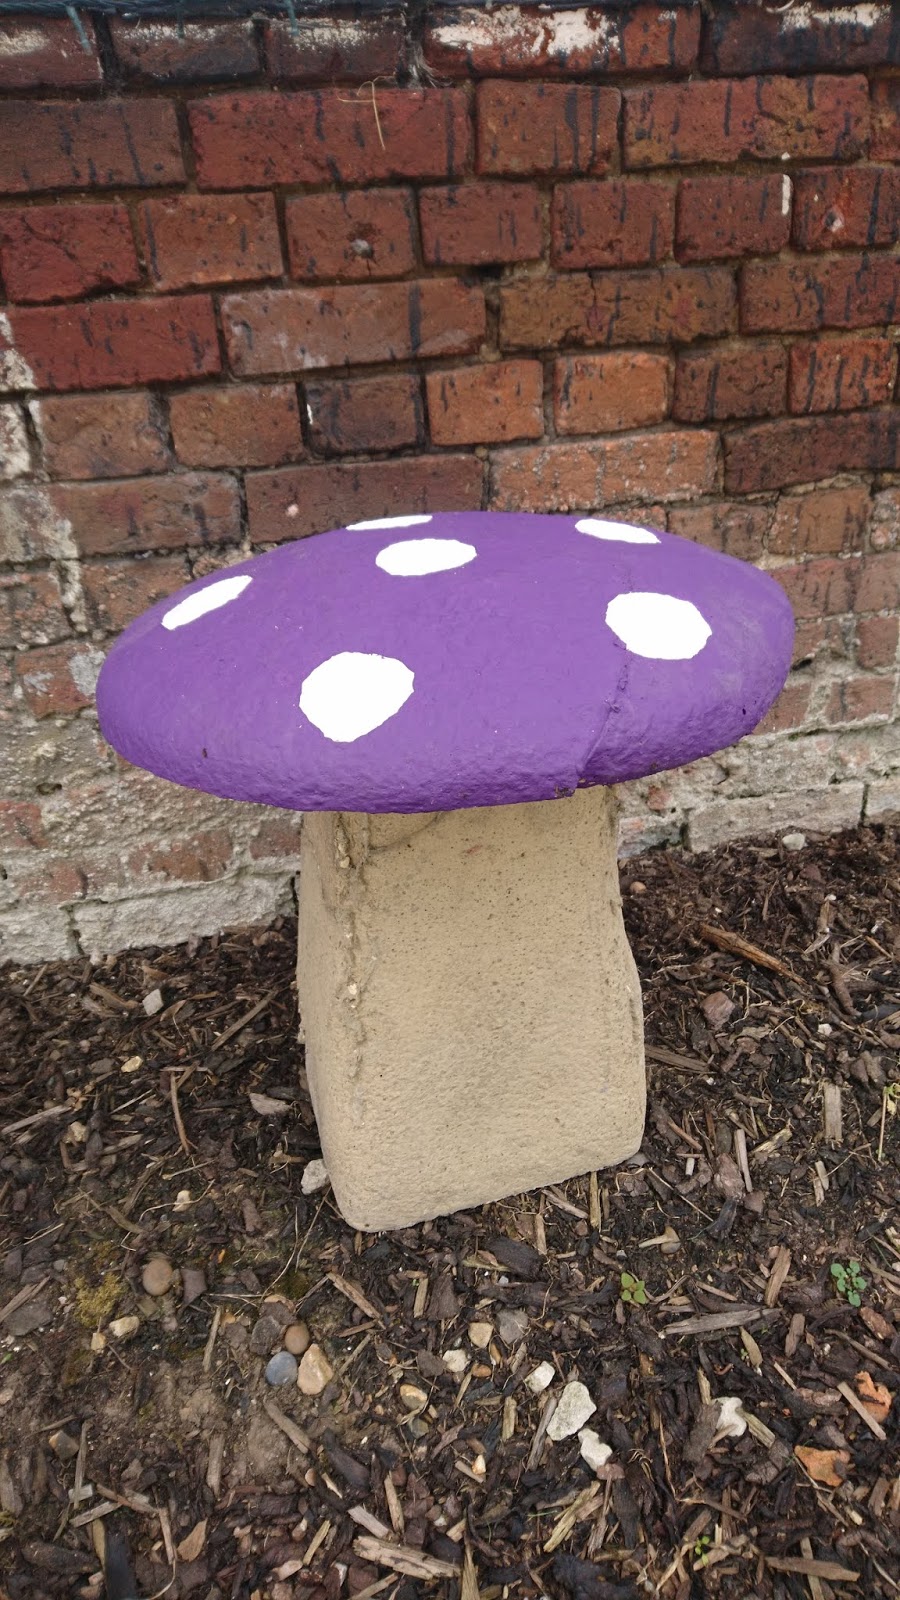
I have had my heart set on this little Toadstool since it first came into BellaCrafts a few months ago so I finally decided to treat myself. It is actually a tea light holder; although it’s not been quite warm enough to enjoy it outside, yet.

The crafts shown here have hopefully inspired you to create that little bit extra for your garden too and they will also be available to make in our upcoming workshops over the summer so keep those crafty eyes open for further dates!!!

At BellaCrafts we're here for you 7 days a week. And if you are missing us during the hours that we are closed, you can always follow us on Facebook https://www.facebook.com/BellaCraftsLtd/ to keep up with news from The Barn and check out our Pinterest page https://www.pinterest.co.uk/bellacraftsltd/pins/ for further crafty inspiration! We also love to see your creations so please feel free to share your pictures with us!!

You're welcome to pop in anytime, whether you would like to create, learn a new skill, ask for advice or pick up those materials for that project you’ve wanted to start for months but haven’t yet got around to....we would love to see you!

Well, I feel inspired. I’m off to pick up that crochet hook again! Oh, our Belinda will be running a beginners crochet workshop this Sunday 29th April as a matter of fact. If you would like to join us then please click here for further details:
https://www.bellacrafts.co.uk/webshop/workshops/crochet-granny-squares-29-04-18/

You’ll be hooked!!!
Hope to see you soon!!
Hermoine

Wednesday, 14 March 2018

Springing Into Action


It’s March. Spring is on its way! Or at least we think it is? Okay it has been mostly snowing and FREEZING cold, but we can’t help but dream about Spring. Spring is a crafter’s heaven, the pastel colours, the Easter décor, the desire for fresh starts and new craft adventures! As a team we all have notebooks jam packed with workshop ideas  and our own personal craft makes to do lists. The word Spring just makes so many delightful arts and crafts opportunities ‘spring’ to mind! 
Seize the day and ‘spring’ into action by learning new skills and treating yourself to crafty activities with us.
 Our Spring festival is less than 20 days away and we cannot contain our excitement. We host two annual BellaCrafts Festivals each year and our Spring one 23rd, 24th and 25th March is guaranteed to be one of our best yet! As well as a whole host of workshops and demos you’ll be the first to see our new stock, grab a promotion and refreshments are on offer all weekend!

We promise to ensure you are immersed in a craft haven all weekend.
 Here at BellaCrafts we always invite a special guest to show off new ideas and techniques!
Donna Mcghie is our special festival guest and will be here on the 25th to teach Powertex. Donna specialises in Powertex, murals, face painting and sculpture- to name a few. Her work is completely unique.
The team at BellaCrafts had the opportunity to interview Donna, so you can have an exclusive insight into the local artist’s thoughts and feelings about all things arts and crafts, her sentimental motivations and her tips for trying new craft activities. Enjoy!

 BellaCrafts: Have you always had a strong interest in arts and crafts?  
Donna: Yes always.  As a child I had a wall in my bedroom that was my ‘mural wall’ which I was free to paint on in any way I chose to do so.  I’m sure this encouraged my love of working in a large expressive fashion.  I also used to doodle over everything in sight, including my clothes. (I still do this, it is very rare you will see me in a pair of undoodled on jeans) 


BellaCrafts: What artists have inspired you previously?  
Donna: I love really expressive artists like Van Gogh, Frances Bacon and Klimt.  The bigger and bolder the better for me. 

BellaCrafts: What are some of your favourite materials to work with? 
Donna:I love finding stuff that has been discarded and using Powertex to upcycle it.  Old boots are great to rework, along with old bottles and dolls that have been thrown away.  I love a scavenge in that little shed place at the council tip – all sorts of goodies to be found in there 

BellaCrafts:What artistic creation has been your favourite to work on?  
Donna: I think probably my dragon’s head  ‘Kimberley’.  I didn’t really have a plan in mind for her, just went with the flow, and ended up adding all sorts of bling in the form of discarded costume jewellery which I think really enhance her.  She is up for sale, but I have to admit I will be quite sad to say goodbye to her. 

 BellaCrafts: What are your three top tips for trying a new craft activity? 
Donna: One;Don’t worry about getting it wrong – that is how we learn what works  Two; Don’t compare and despair – we all have our own unique style, and that is just as it should be  Three; Do enjoy experimenting – for me, it is as much about enjoying the process as the end result.

BellaCrafts: What can our customers expect from your workshop?  
Donna:To be encouraged to develop their own style. I love to see how people’s personalities shine through in what they make. You will get messy, so do please wear old clothes.  And you will definitely have a lot of fun.The other thing that is very important to me, is that my workshops are Art 4 A Heart Workshops, which means that £5 from each person gets donated to the Papworth Hospital Charity as a way of saying thank you as my husband had a life changing heart transplant in 2016. 


BellaCrafts:What is your favourite thing to make using Powertex?  
Donna: This changes on a regular basis, but I think my favourite thing at the moment is upcycling old boots.  I did a workshop recently where a lady wanted to do a boot in memory of her father, who loved walking.  What she made was absolutely beautiful and I felt really honoured to have played a small part in helping her create such a meaningful tribute to someone she loved very much. 


BellaCrafts: If you could attend any one of our upcoming workshops (apart from your demo) which would you choose and why? 
Donna: I think it would be the silk painting, because of my love of colour.  It would also be something that I could incorporate nicely into some of my Powertex work as well.  


Donna’s Powertex Journal workshop will allow you to learn amazing Powertex techniques to create beautiful textures with fabrics. Donna will talk you through all the basics and is perfect for complete beginners or experienced crafters!

Visit here to book your place: https://www.bellacrafts.co.uk/festival/


We hope you enjoyed getting to know Donna as much as we did and we are over joyed and extremely lucky to have her as our upcoming special guest.

Don’t forget to visit our website, https://www.bellacrafts.co.uk/festival/ or call us:
023 8051 7054 for further details about our Spring Festival, or to book your place before we fill up! Remember if you book onto any of our Spring Festival workshops you will be entered into a free prize draw!


Plus there are loads more workshops coming up for Spring and Easter themes too!
We wish you a happy bright sunny Spring filled with great times crafting.

Much Love 
The BellaCrafts Team


Wednesday, 17 January 2018

We've Got Wedding Fever!


Wow. What a weekend we just loved hosting our open bridal days. So much joy and excitement to be shared! We met some lovely brides and were inspired by their colour choices and themes!
The whole team were in Friday, including our newest recruit Hermoine. We loved every second of setting up our displays and even got our noses into some bridal magazines, doing some very serious research..... not at all getting side tracked by dresses, photo shoots and venues!


We are perfectionists, so Friday evening included various group discussions from invitation display colour schemes to what vase the flowers looked best in etc! What can we say we are creative people so it just has to be perfect! The set up was beautiful.

Bloomin’ Clares, a local florist in Fair Oak was one of the local businesses we had at our open day! Bloomin’ Clares’ aim to create floral magic and they most definitely added a magical touch to our open day. I’m sure you would agree if you attended they smelt and looked INCREDIBLE. We love fresh flowers in our barn and were privileged to showcase her work!


Our team were on hand to inspire, inform and listen! Our services include bespoke jewellery, hand crafted invitations and craft stock a plenty to contribute towards achieving the perfect little touches for your big day! If you are getting married we would be more than happy to help and we love to make everything we design as personal to you as possible.

Among the tea drinking and cake munching we enjoyed sharing our free Make & Take with you brides to be and your trusty bridesmaids. Why not have a go at home following these simple instructions to beautiful paper craft bunting?
You will need:
·         Letter stickers
·         Patterned Paper or Card – a great way to use up some scraps!
·         A length of ribbon or lace
·         Paint – we chose white chalk paint but any colour would do
·         Pencil, paintbrush, scissors and a hole punch


1.      Use your letter stickers to create a triangle template. We found sticking our letters onto your template paper the best way to create the right size.
2.      Draw round your template onto patterned and cut out your triangles. Make sure you have the right number to spell out your word/words

3.      Punch two holes in the top edge of your triangles to weave your ribbon/lace through  
4.      Apply the stickers to the centre of each triangle, being careful to try and position at the same height on each
5.      Wash the colour over the triangles, being careful to make sure the coverage is even around the edge of the stickers for a crisp finish
6.      Add layers of paint until you can no longer see the pattern through the paint; this may vary depending on your background colour. We ended up applying four coats
7.      Allow to dry completely and then remove your stickers to reveal the beautiful pattern
8.      Weave through your ribbon or lace, allowing plenty at either end to hang
9.      Hang your beautiful bunting for the world to see! Now there’s no stopping you, why not repeat for Valentines, Easter, Christmas, Birthdays and more!


Missed our bridal open day? Do not fear we have another date in the diary!

Come along to our free Bridal Open Day on March 17th and 18th 11.00am-4.00pm. No need to book!


We just can’t wait to get cracking on with working with all you brides to be! We have lots of hen parties to plan, invites to make and jewellery to design. We certainly feel privileged that those who visited chose us to play such an important role in your big day!

                                                See all you crafters and Brides again soon!

                                                                           Happy making


Wednesday, 25 October 2017

Spoooooooooky Lantern Countdown


There's just 5 days until Halloween so to help count you down, here are five spooky lantern ideas to get you and the kids into the seasonal spirit! We have some amazing lanterns in store available in both white or orange which are just what you need (trust us) as a fun seasonal activity, they make perfect home décor if you are planning THAT Halloween party too or just a lovely family get together over half term!


We have used five different techniques to use the product to its full crafty potential. Flexible, affordable and fun that’s us at BellaCrafts!


1.  Glittery Scenes!


What you will need:

Lantern, sharpie, lots of glitter (we mean it) and tacky

glue.

This is one of the simplest techniques; outline your silhouettes using the tacky glue fine precision nozzle. we chose to do the moon and tree silhouette. Please use our designs as guidance, you could create any spooky silhouette you desire!

Apply pressure to the tacky glue tube to pipe glue into the outlined silhouette.


Simply sprinkle glitter onto the tacky glue shapes,ensure to keep the lantern as level as possible to avoid the weight of the glue moving and leaking, distorting your desired silhouette.


Ensure you cover the glue with plenty of glitter and tap off the excess. As the glue dries you will find the glitter will soak into your silhouette nicely and with the excess shaken off will leave a neatly glittered silhouette and super sparkly spooky scene!


Use a sharpie to add any writing you may want.


2. Hand Painted designs 


What you will need:

Lantern, acrylic paint set and a paintbrush.


The lantern base can be tricky to sketch onto, so if you are feeling brave (go on you can do it!) use acrylic paints to free hand paint a design onto your lantern.


We chose to make a frightening pumpkin design! We blended warm rich oranges and golds, with darker undertones such as green and black to add detail and make the pumpkin lantern come to life!


Top tip for making this lantern make sure you allow the paint you have painted to dry before adding finer details, such as the pumpkins face! This will make it much neater in terms of appearance and easier to work on!

We chose to cover our entire lantern however you could paint simply an edge or just the middle part!


3. Spooky Silhouettes 


What you will need:

Lantern, Black card, scissors, double sided tape.


Cut out your desired silhouettes from black card, ensure detail is minimal, stick to a basic outline of a shape! We chose to do ghosts!

Top tip any minute details will become lost once placing inside the lantern! Simple is best for this one!


We also recommend using the white lanterns as these appear to be slightly sheerer than our orange ones and will look most effective.


Use double sided tape to attach the silhouettes to the inside of the lantern- as simple as this!

Your lantern will cast spooky shadows when lit and there you have it! 


4. Ghouls and Ghosts 


What you will need: Lantern, white tissue paper, double sided tape and googly eyes.


Using some white tissue paper cut it into strips and lay the strips over the lantern. We found using slightly longer strips to hang past the length of the lanterns was the most visually successful in creating a moving ghost shape when the lantern hung!


Attach the strips with the tape at the top of the inner lantern.


Add crazy creepy googly eyes to finalise the design (this is bound to prove popular with the children!)


Spooky effective!


5. Bat Attack Lantern 


What you will need: Black card, sharp scissors and double sided tape.


Choose your Halloween animal, we selected bats as we love the shape of them!

Use pencil to sketch your design onto card – or use an online template if you prefer to cut out the desired shape!


Ensure you cut as neatly as possible to create a defined shape. (Sharp scissors are essential to ensure detail)


Bend in half the silhouettes and attach double sided tape to the middle of the back of the shape. This will allow the silhouettes to be attached to the lantern in a 3d manor, which is particularly eye catching.

Apply the double sided tape along the fold and stick your creepy crawlies all over your lantern. 


SO simple but so effective we adore these Halloween lanterns and cannot wait to have them hanging up in our homes! Happy Halloween everyone and remember all the materials used can be found in our craft shop at the Barn! 


Why not pop in and see ours in store and join in with some of our spooky activities!

Visit http://bellacrafts.co.uk/book-here/school-holidays/ for more info! 


Much love

BellaCrafts